Free Delivery: 


Our facilities are now open for visits. Please contact your PIC or email us at contact@custommadepackaging.com to request a visit.
Free Delivery:
Home – Blogs – Custom Printed Mailer Boxes: 2026 Print & Finish Guide
 – Blogs
by Custom Made Packaging Team – November 3, 2026 · 15 min read
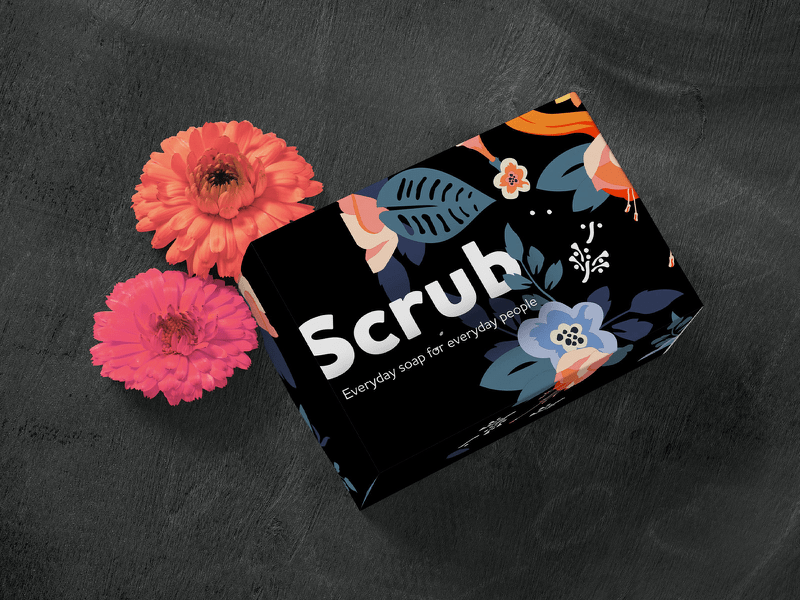
Custom printed mailer boxes are corrugated shipping boxes printed with your logo, colors and artwork, outside, inside or both, so the parcel itself becomes part of your brand. The look you get depends on four choices: the printing method, the board color you print on, the way your colors are specified and the finish on top. Get those four right and a simple shipping box can look as polished as retail packaging without blowing your budget.
This guide explains each choice in plain language. You will learn how digital, offset and flexographic printing compare, how ink behaves on white versus kraft board, when to use CMYK or Pantone colors, which coatings and finishes are worth paying for, how to prepare print-ready artwork, design ideas by industry, the factors that drive cost, and the mistakes that most often lead to reprints.
It is written for small and mid-size e-commerce and subscription brands in the United States and Canada, including a section on what changes when you ship and sell in each country.
Table of contents: What they are · Printing methods · White vs kraft board · CMYK vs Pantone · Inside printing · Finishes and coatings · Print-ready artwork · Design ideas by industry · Cost factors · Common mistakes · USA and Canada · How to order · FAQ
A mailer box is a one-piece, die-cut corrugated box with a hinged lid, a front tuck closure and side “ears” that lock the lid in place. It ships flat, folds without glue or tape in a few seconds and is sturdy enough to go through the mail on its own, which is why it has become the default box for direct-to-consumer brands and subscription programs.
A custom printed mailer box adds your design to that structure. Because the box is both the shipping container and the first thing your customer touches, printing does three jobs at once:
If you are still deciding on structure and dimensions, start with our mailer box sizes guide; this article focuses on how the box is printed and finished once the size is settled.
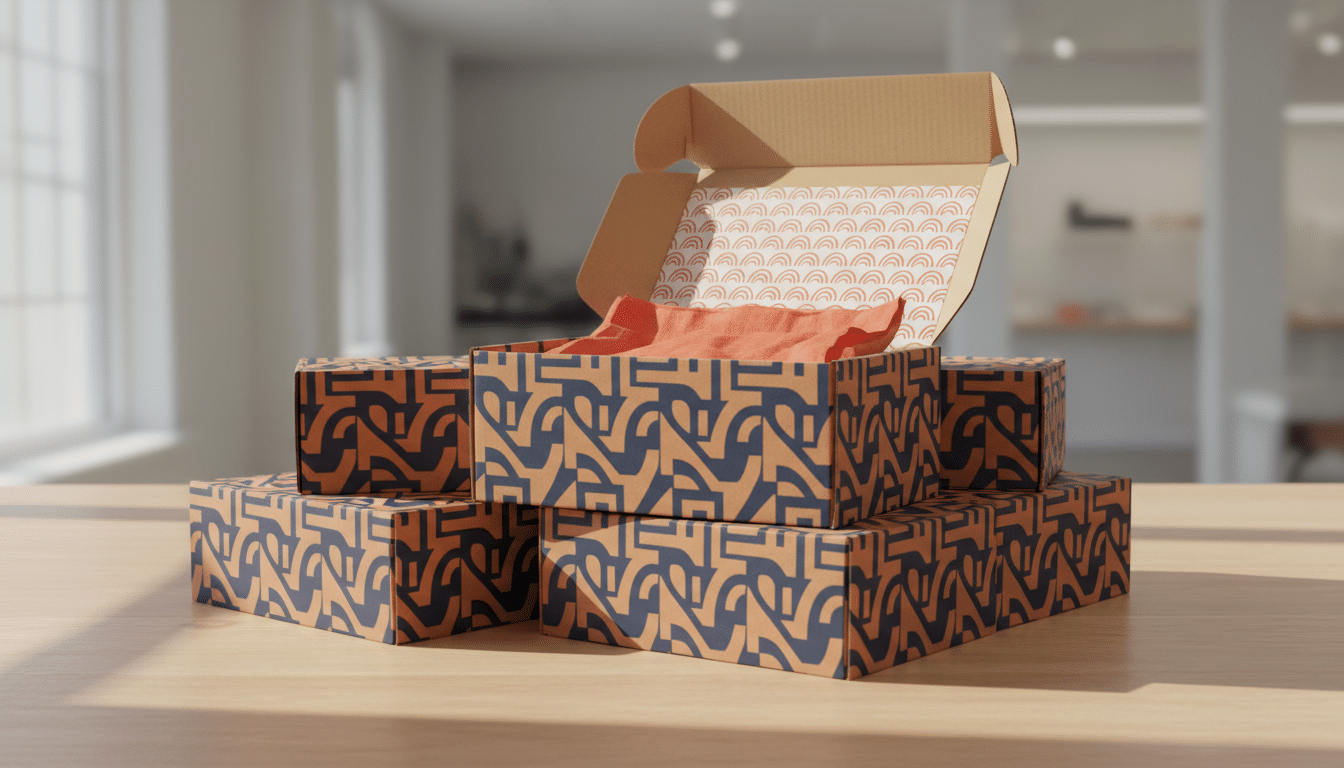
There are three main ways to print corrugated mailer boxes. Each has a sweet spot, and the right one depends on your artwork, your quantity and how exact your colors need to be.
Digital presses print directly from your file with no printing plates, so there is no plate cost to spread across the order. That makes digital the natural choice for short runs, test launches, seasonal designs and brands that want several artwork versions without paying setup for each. It reproduces full-color photos and gradients well. Large flat areas of a single solid color can show slight variation, and color is matched to CMYK rather than mixed spot inks.
With litho lamination, the artwork is printed on a sheet of paper with an offset press, then laminated onto corrugated board before die-cutting. Because the image sits on smooth paper, it gives the sharpest detail and richest color of the three methods, close to what you see on a retail carton. Plates and make-ready add setup cost, so offset makes most sense for larger runs and premium brands where image quality is the priority.
Flexo uses flexible rubber or polymer plates to print directly onto the corrugated liner. It is fast and economical at high volumes and works best with simple designs: a logo, line art, one to a few spot colors and clean type. Fine detail, small text and photographic images do not reproduce as crisply, because the fluted board underneath is slightly uneven.
| Factor | Digital | Offset (litho-lam) | Flexo |
|---|---|---|---|
| Setup / plates | None | Plates and make-ready | Plates for each color |
| Best quantity | Short to medium runs | Medium to large runs | Large runs |
| Image quality | Very good, full color | Excellent, sharpest detail | Good for simple graphics |
| Photos and gradients | Yes | Yes, best result | Limited |
| Exact spot colors | Close CMYK match | Yes, with Pantone inks | Yes, with Pantone inks |
| Multiple designs in one order | Easy | Costly (new plates) | Costly (new plates) |
| Typical use | Startups, launches, seasonal runs | Premium DTC and gift brands | High-volume shipping boxes |
You do not need to choose the method yourself. Tell your supplier your quantity, your artwork and which colors must match, and they should recommend the process that gives the best result for the price. For most small businesses ordering in the hundreds, digital printing is the practical starting point.
Most printing inks are translucent. Light passes through the ink, reflects off the board and comes back to your eye, so the color of the board underneath changes the color you see. This is the single most common surprise for first-time buyers of printed mailer boxes.
| Design element | On white board | On kraft board |
|---|---|---|
| Black logo or type | Crisp, high contrast | Crisp, high contrast |
| Bright reds, blues, greens | True to design | Darker and more muted |
| Pastels and light tints | Soft and clean | Often too faint to read |
| White elements | Unprinted board shows as white | Need white ink, which adds cost |
| Photographs | Accurate | Brown cast, lower contrast |
| Best design style | Full color, pattern, photo | One or two bold, dark colors |
A popular middle path is a kraft outside with a single dark ink (black, navy or forest green) for an understated, sustainable look, paired with a full-color white interior. If you like the natural look, custom kraft boxes start from $0.50 per box and support inside printing too.
Your screen shows color in RGB light. A printing press builds color from ink, so artwork has to be converted, and some bright screen colors (electric blues, neon greens, vivid oranges) simply cannot be reproduced with standard process inks. Choosing the right color system avoids disappointment.
Practical rules: set up files in CMYK, not RGB. If one brand color matters above everything else, give your supplier its Pantone reference and ask how closely it can be matched with the chosen print method. Expect small variation between screens, paper samples and corrugated board, and between printing runs, which is normal for any printed packaging. Remember that a Pantone swatch on coated paper will look different on uncoated or kraft board.
The outside of a mailer box travels through sorting centers and delivery trucks; the inside is seen only by your customer, at the moment they are most curious. That is why inside printing often delivers more impact per dollar than any premium finish on the outside. We offer inside printing on mailer, kraft, CBD and product boxes.
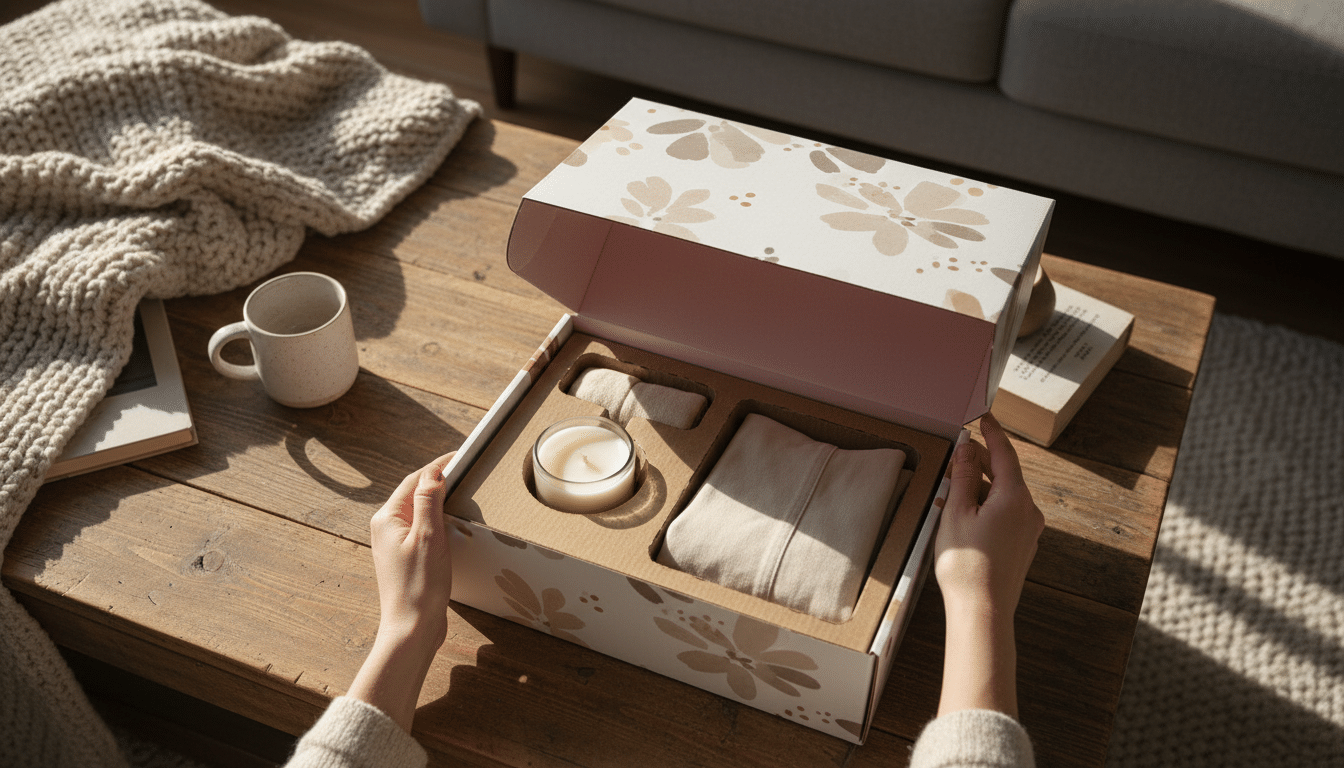
Ideas that work well inside the box:
Pair the printed interior with a fitted insert so products sit neatly instead of covering the design. Our guide to packaging inserts explains the main options.
A finish is anything applied on top of the print. Some protect the box from scuffs and moisture; others add a premium touch that customers notice when they pick it up. Not every finish suits every board, so ask what is available for your chosen material and print method.
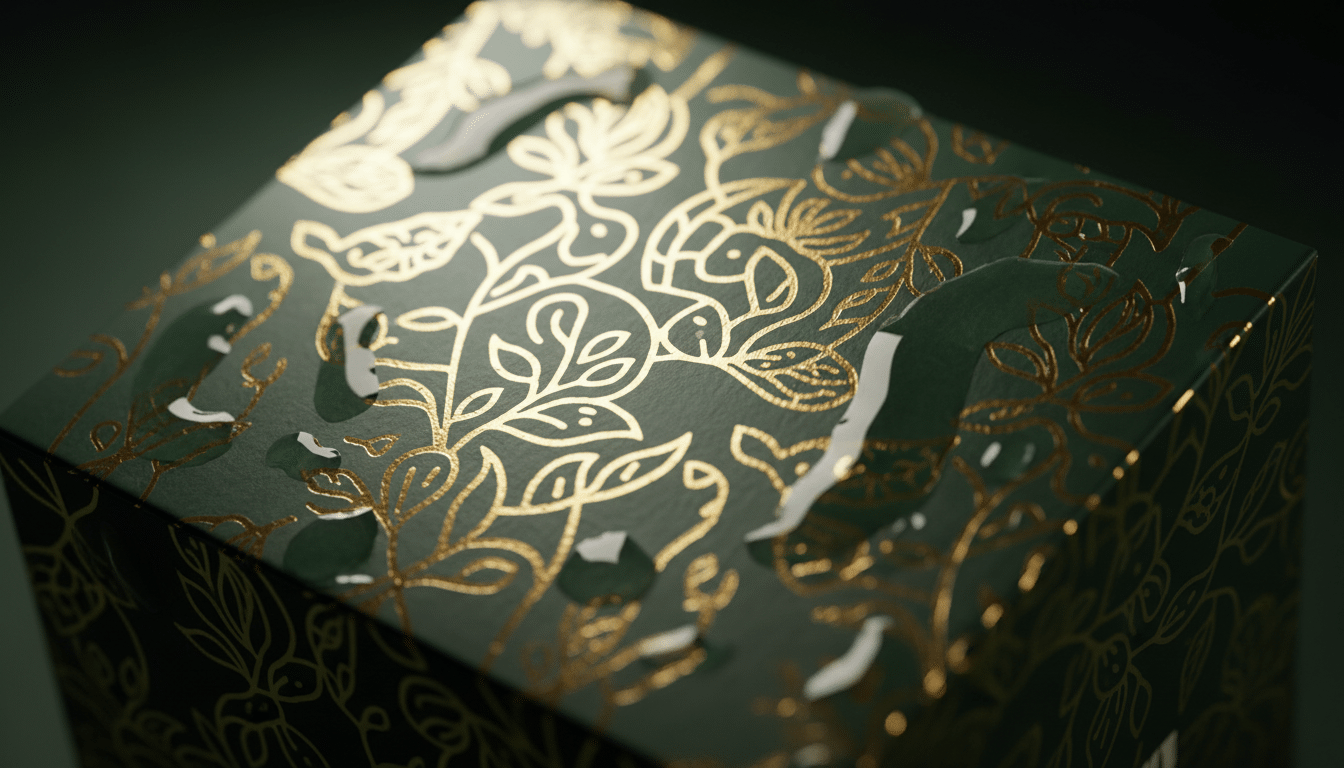
| Finish | What it does | Best for | Cost impact |
|---|---|---|---|
| Aqueous coating | Clear water-based layer that reduces scuffing | Everyday shipping boxes | Low |
| Matte lamination | Soft, non-reflective film that resists fingerprints and scuffs | Minimal, modern and beauty brands | Moderate |
| Gloss lamination | Shiny film that makes colors pop and adds moisture resistance | Bold, colorful designs | Moderate |
| Soft-touch lamination | Velvety feel with a premium matte look | Luxury and gift boxes | Moderate to high |
| Spot UV | Glossy raised highlight on selected areas only | Logos and patterns on matte boxes | Moderate |
| Foil stamping | Metallic gold, silver, rose gold or colored foil | Logos, borders, premium accents | Moderate to high |
| Embossing / debossing | Raised or pressed-in logo you can feel | Premium tactile branding | Higher, needs a die |
| Uncoated | No finish; natural paper feel | Kraft and eco-focused designs | None |
For most shipping boxes, a matte or gloss lamination is the best balance of protection and appearance. Save foil and spot UV for one focal point, usually the logo on the lid, rather than spreading them across the whole box. Embossing is most crisp on smooth, laminated surfaces; on corrugated board the flutes can soften the effect, so ask for a sample. If recyclability is part of your brand promise, ask your supplier how a given lamination or foil affects it, and keep any recycling claims on the box accurate.
Most delays in packaging projects come from artwork files that are not ready for print. Use this checklist before you send anything, and see our dieline and artwork guide for a deeper walkthrough.
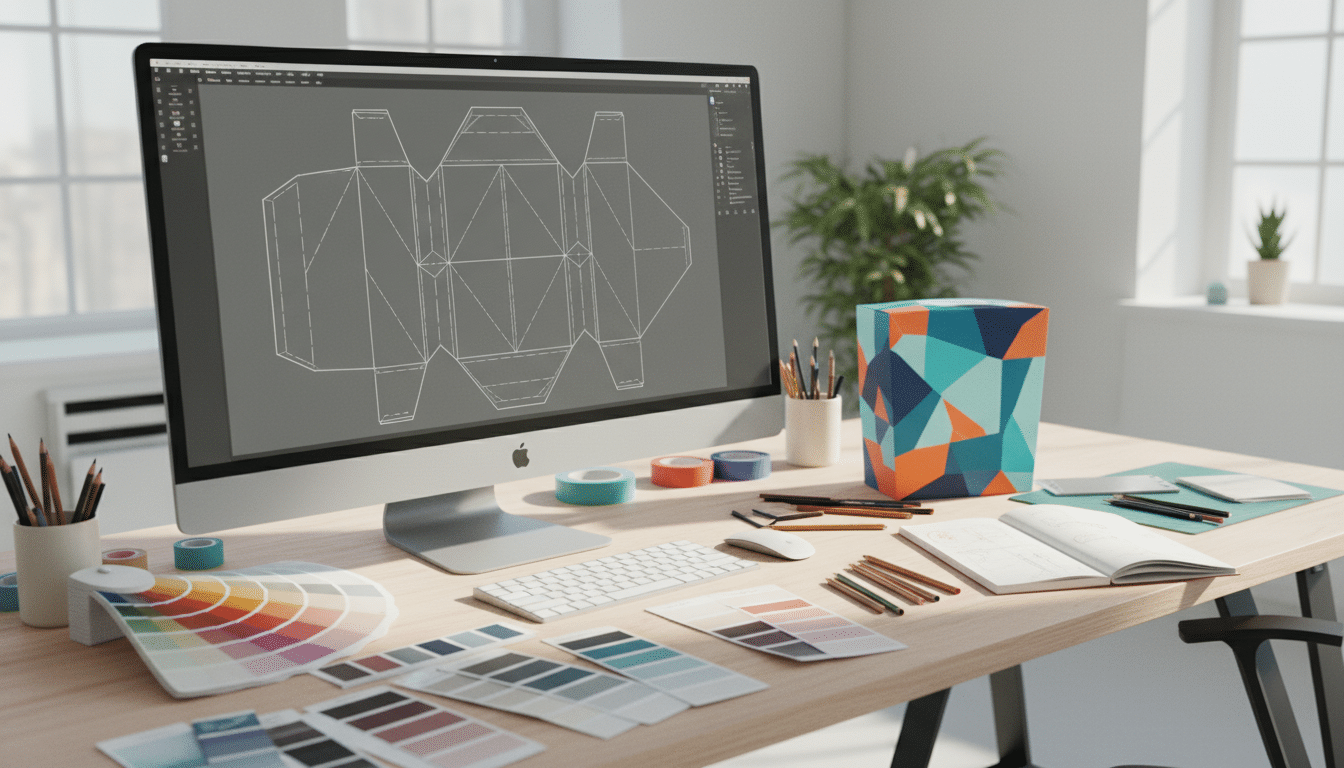
No designer on your team? Our free design support covers file checks and layout adjustments, and you can also hire a professional packaging designer to create the artwork from scratch.
Pro tip: Print your flat artwork at 100% scale on office paper, cut it along the dieline and fold it into a paper box. In ten minutes you will spot upside-down panels, text that wraps around a fold and logos hidden under the tuck flap, long before they reach the press.
The best printing choices depend on what you sell and who you sell to. These combinations are proven starting points; for more inspiration, browse our custom design box ideas.
A shallow box with a bold, simple outside (logo on the lid, color on the sides) and a patterned interior that frames folded garments wrapped in tissue. Matte lamination keeps the box looking clean through handling. For lower-priced items, branded poly mailers can carry the same look at lower cost.
White board for accurate pastel and nude tones, soft-touch or matte lamination, and a single foil accent on the logo. Use the inside lid for a short routine (cleanse, treat, moisturize) and an insert that holds each bottle upright.
Kraft outside with one dark ink for an artisan feel, and a full-color inside showing origin, roast or brewing tips. Keep food in its own sealed, food-safe primary packaging; the mailer is the outer shipper.
Warm earthy palettes, a fragrance-family pattern inside and a sturdier board for glass jars. A protective insert matters more here than any finish.
A consistent printed outside that builds recognition month after month, with seasonal variety delivered through stickers, tissue or inserts. Digital printing makes limited-edition designs for holidays practical without large quantities.
Clean white board, generous white space and clear typography that signals trust. Keep all regulated product information on the product’s own label or carton, and use the mailer for brand, usage tips and a reorder QR code.
Complete the look with matching branded tapes for a sealed, tamper-evident finish, and custom labels and stickers for limited editions or seasonal versions.
Custom mailer boxes start from $0.90 per box, but the final unit price depends on how you combine size, board, printing and finishes. Understanding the drivers lets you put the budget where customers will notice it. For detailed price examples, see how much mailer boxes cost.
| Cost factor | Effect on price | How to save |
|---|---|---|
| Quantity | Unit price falls as quantity rises because setup is spread across more boxes | Order your realistic volume for a few months, not just a few weeks |
| Box size | Larger boxes use more board and cost more to ship | Size tightly to the product |
| Board type | Thicker flutes and white liners cost more than standard kraft | Use E-flute for light products |
| Print coverage | Full flood color uses more ink than a logo on bare board | Let the board color do some of the work |
| Print sides | Printing inside and outside adds a second print pass | Print inside only where it shows |
| Number of designs | Each design adds setup, especially with plates | Use stickers or inserts for variations |
| Finishes | Lamination, foil, spot UV and embossing each add cost | Use one premium accent, not five |
| Inserts and add-ons | Custom inserts, tissue and tape add to the total | Add inserts only for fragile or multi-item kits |
| Turnaround | Rush production costs more than standard | Plan reorders 4–6 weeks ahead |
The cheapest box is rarely the best value. A slightly smaller, well-printed box that lowers dimensional weight and reduces damage can cost less per order overall than a bigger, plainer one.
We print and ship custom mailer boxes for businesses across the United States and Canada, with free shipping to both countries. The printing itself is the same in either market, but a few practical details differ.
US brands usually work in inches and pounds, and UPS, FedEx and USPS can bill parcels by dimensional weight based on the box’s outside dimensions in inches. A printed box that is sized tightly protects your margins as well as your brand. If your mailer doubles as the retail package for a consumer product (rather than an outer shipper around a labeled product), federal labeling rules generally require net quantity in both US customary and metric units, so check current requirements for your product category. Recycling claims printed on boxes should be accurate and specific under FTC guidance, and some states, such as California, restrict how the recycling symbol may be used, so confirm before adding one.
Canadian businesses and carriers typically work in metric, calculating volumetric weight from centimeters with a carrier-specific divisor, so send us dimensions in whichever unit you prefer. When a printed box is also the consumer package, most mandatory label information must appear in both English and French. A brand-only shipping mailer is more flexible, but many Canadian brands print key customer-facing messages in both languages anyway to serve customers nationwide. Environmental claims should be truthful and verifiable under Canadian rules, and recycling programs vary by province.
| What to check | United States | Canada |
|---|---|---|
| Units for box specs | Inches and pounds | Centimeters and kilograms (inches also accepted) |
| Shipping cost basis | Dimensional weight in inches/lb with UPS, FedEx, USPS | Metric volumetric weight with carrier-specific divisors |
| Language on the box | English | Mandatory consumer information in English and French |
| Net quantity (if retail package) | US customary and metric units | Metric units, bilingual |
| Recycling claims | Accurate per FTC guidance; some state limits | Truthful and verifiable; provincial programs vary |
| Delivery | Free shipping | Free shipping |
US-based sellers can find more market-specific advice in our guide to mailer boxes in the USA. Regulations change, so always confirm current labeling rules for your product with the relevant authority.
Ready to start? Explore our custom printed mailer boxes, or contact our team with questions about printing and finishes.
It depends on quantity and artwork. Digital printing is best for short runs and full-color designs, offset litho lamination gives the highest image quality for larger premium runs, and flexo is economical for simple designs in high volume.
Yes. Inside printing is available on our mailer, kraft, CBD and product boxes. Many brands keep the outside simple and put a bold color, pattern or message inside, where the customer sees it on opening.
Most inks are translucent, so the brown board shows through and makes colors darker and warmer. Light colors and white need a white ink base or white board to print accurately.
Custom mailer boxes start from $0.90 per box. The final price depends on size, board, quantity, print coverage, inside printing and finishes, and the unit price drops as quantity rises.
Supply vector artwork (AI, EPS or PDF) placed on the supplier’s dieline, in CMYK, with 1/8 inch (3 mm) bleed and outlined fonts. Photos should be 300 dpi at final size.
Our minimum order is 30 boxes, which makes it practical for startups and test launches. Free design support and a 2D and 3D mockup within 48 hours are included.
If the box is the consumer package and carries mandatory product information, that information generally must appear in English and French. A shipping mailer with only branding is more flexible, but check current rules for your product before printing.
Yes. We offer free shipping anywhere in the United States and Canada. Standard production is 10–15 business days after design approval, or 8–12 business days with rush production.
Get the custom quote starting from our MOQ of 30 boxes to any order volume. There will be no charges for shipping and we ensure the lowest prices with highest quality possible.