Free Delivery: 


Our facilities are now open for visits. Please contact your PIC or email us at contact@custommadepackaging.com to request a visit.
Free Delivery:
Home – Blogs – Custom Design Boxes in Canada: 2026 Brand Guide
 – Blogs
by Custom Made Packaging Team – November 2, 2026 · 15 min read
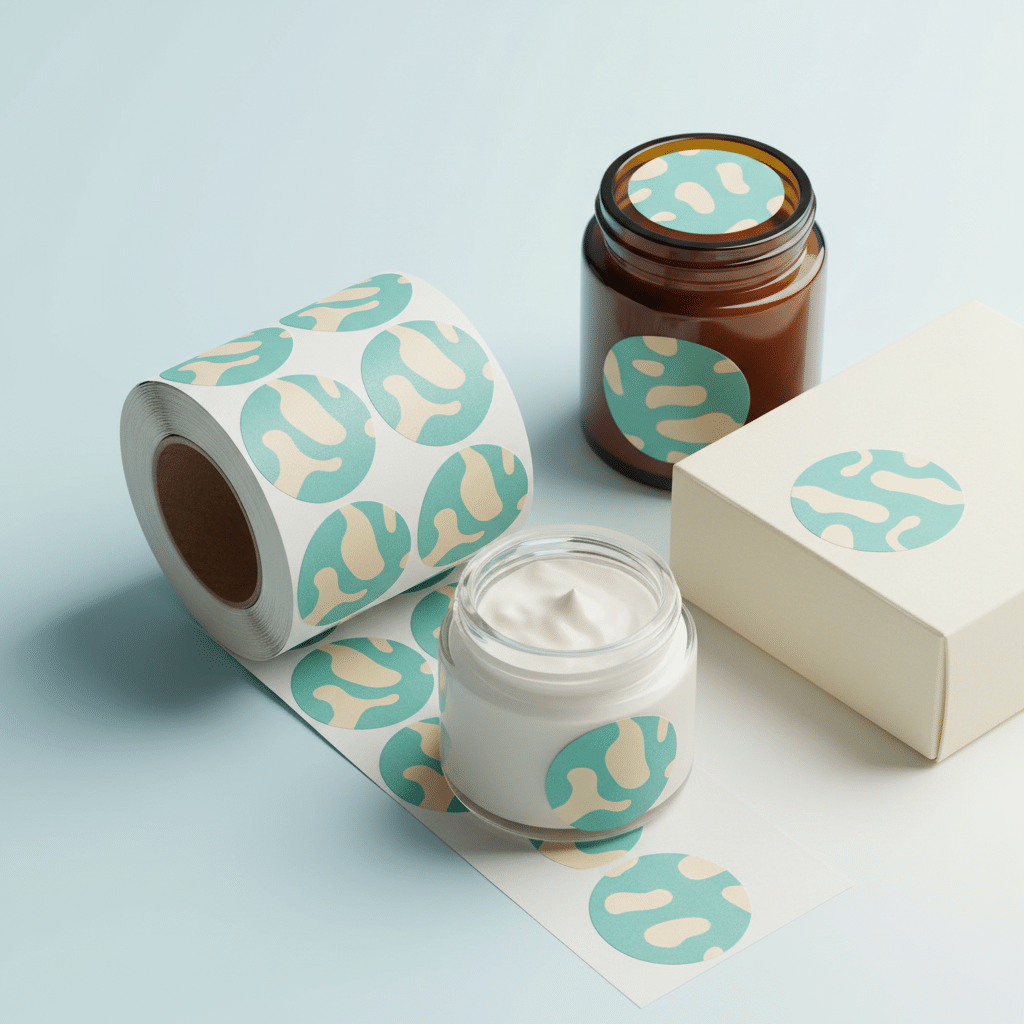
Custom design boxes in Canada work best when they are planned around three things from day one: mandatory label information in both English and French, metric measurements, and materials that hold up to long, cold shipping routes. Get those right and your box can look exactly the way you want while still meeting the rules that apply to consumer products sold across the country.
This guide is written for small and mid-size brands in Canada, and for US brands that sell into Canada, who want packaging that feels truly theirs. You will learn how bilingual labeling shapes a layout, how to size boxes in centimeters and inches, which box styles and finishes suit which products, how recycling programs affect material choices, what drives cost, and a step-by-step checklist you can use before you approve your artwork.
Whether you run a skincare line in Toronto, a candle studio in Halifax or an online coffee brand that ships to both Canadian and American customers, the principles are the same: design for the shelf, the shipping box and the regulations at the same time.
Table of contents:
A custom design box is packaging made to your specifications rather than picked from a stock catalog. You choose the style, the exact inside dimensions, the board, the print and the finishes, and the artwork is built on a dieline made for your product. The result is a box that fits properly, protects well and looks unmistakably like your brand.
For Canadian businesses, custom design has an extra practical benefit: you control where the mandatory bilingual information goes. With a stock box and a sticker, English and French text often ends up cramped onto a small label. With a custom design, you plan dedicated panels for each language, so the box stays clean and readable. If you are new to the process, our general guide on how to design your own box covers the basics, and this article focuses on what changes when you sell in Canada.
Canada’s federal consumer packaging rules require most mandatory label information on prepackaged consumer products to appear in both official languages. In general terms, that covers the product’s common name or identity, the net quantity and the name and principal place of business of the dealer, along with any information required by product-specific regulations. Food, cosmetics, natural health products and other categories each have their own additional rules, overseen by bodies such as the Canadian Food Inspection Agency and Health Canada.
Quebec also has its own language law, which generally requires French on products and packaging sold in the province, with French text no less prominent than other languages. Rules in this area have been updated in recent years, so check current guidance from official sources, or ask a regulatory advisor, before you finalize text. Your packaging supplier prints what you approve, so the responsibility for label content stays with the brand.
| Label element | What it generally needs | Design tip |
|---|---|---|
| Product name or identity | English and French on the main display panel | Pair the two names in one typographic lockup so neither looks secondary |
| Net quantity | Metric units (g, kg, mL, L or count), placed on the principal display panel | Add US customary units (oz, fl oz, lb) if you also sell in the USA |
| Dealer name and address | Name and principal place of business; may appear in either language | Place it on a side or back panel in a consistent spot across your range |
| Directions and warnings | Bilingual where required by product rules | Use parallel columns or stacked blocks with clear EN/FR headings |
| Ingredient or content lists | Format depends on the product category | Reserve a generous panel; ingredient lists are often longer than expected |
Your logo, brand name and marketing tagline are usually treated differently from mandatory information, but rules on trademarks and slogans can vary, especially in Quebec. When in doubt, translate supporting copy as well. It is also simply good customer experience in a country where millions of shoppers prefer French.
Bilingual packaging does not have to look busy. The trick is deciding early how the two languages will share space, then building your grid around that decision. These three layouts cover most products:
English on the left, French on the right, with a thin rule or extra white space between them. This works well on back panels of tuck end boxes and on the inside lid of mailer boxes, where you have a wide, flat area. Align headings, bullet points and icons in both columns so the panel reads as one designed block.
On tall cartons, some brands dedicate one large side to English and the opposite side to French, each with the product name and key claims. Retailers can face either side out, which is useful for stores in bilingual regions. Keep mandatory items such as net quantity on the panel that will usually face the shopper.
On narrow panels, such as lipstick or tincture cartons, stack English above French with the same type size and weight. Use a small “EN” and “FR” marker or a color shift to help readers find their language quickly.
A few typography rules make bilingual boxes look intentional:
Pro tip: Write and approve your final English and French copy in a simple document before the designer starts. Changing text after the layout is built is the most common cause of extra revision rounds, and a locked copy deck lets your 2D and 3D mockup arrive closer to final on the first try. If you would rather hand the whole job over, our team can create custom design boxes for you with free design support.
Canada uses metric for packaging and shipping, although many people still think about product sizes in inches. The good news is that custom boxes can be specified in either unit; what matters is that you give inside dimensions in Length × Width × Depth order and use one unit consistently. Here are common size bands in both systems:
| Typical use | Inside size (cm) | Inside size (inches) |
|---|---|---|
| Lipstick, lip balm or small tincture carton | 2.5 × 2.5 × 9 | about 1 × 1 × 3.5 |
| Serum or 30 mL dropper bottle carton | 4 × 4 × 12 | about 1.6 × 1.6 × 4.7 |
| Candle in a jar (product box) | 9 × 9 × 10 | about 3.5 × 3.5 × 3.9 |
| Small mailer for jewelry or accessories | 15 × 10 × 5 | about 6 × 4 × 2 |
| Medium mailer for gift sets | 23 × 15 × 7.5 | about 9 × 6 × 3 |
| Large mailer for apparel | 30.5 × 23 × 10 | about 12 × 9 × 4 |
Treat these as examples, not standards. Measure your product at its widest points, including caps, pumps and inserts, then add a small allowance: around 3 mm (1/8 inch) for a snug fit, more if you wrap products in tissue or bubble wrap. If an insert will hold the product, size the box around the insert; our guide to packaging inserts explains the options.
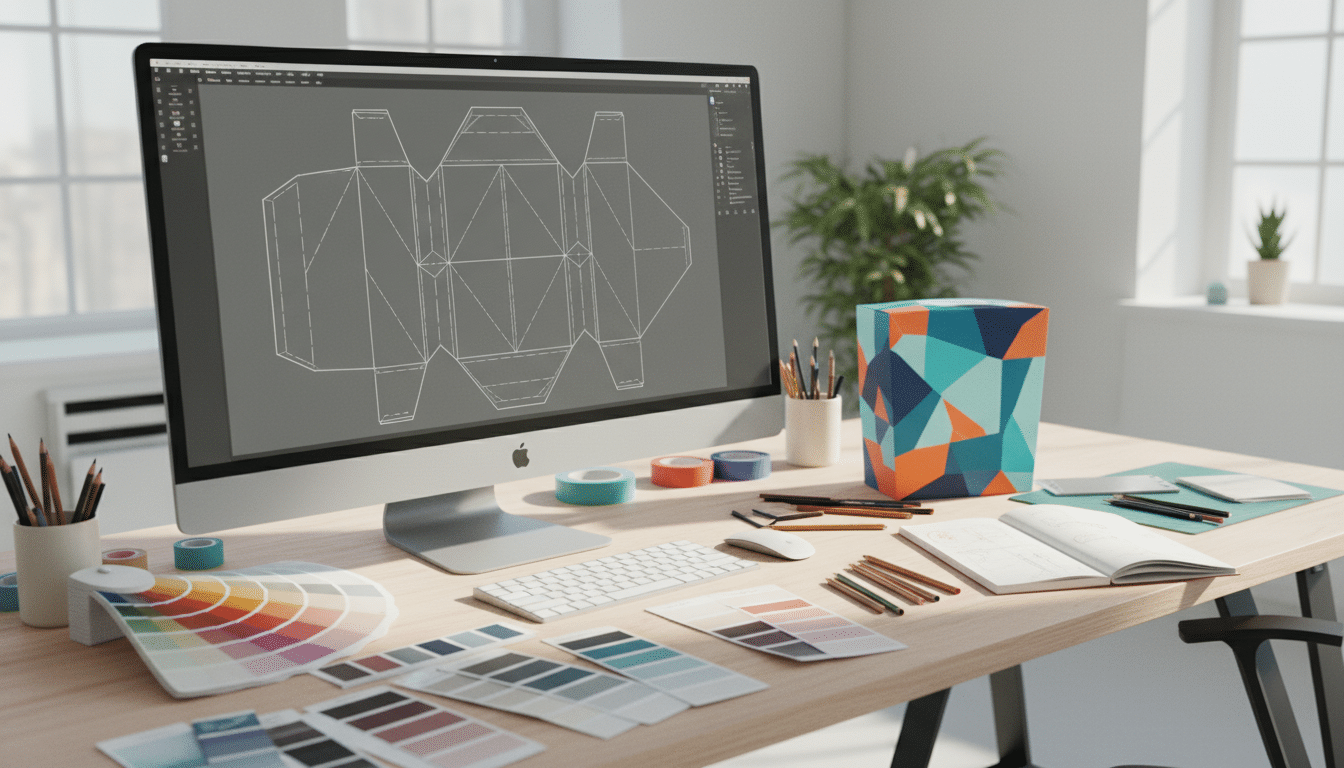
Once dimensions are set, your designer works on a dieline: the flat template showing cut lines, fold lines, glue areas and bleed. Keep text and logos inside the safe zone, typically about 3 mm (1/8 inch) from any cut or fold, and extend background color into the bleed. For a deeper walk-through, see our dieline and artwork guide.
The box style decides how much printable space you have, how the product is presented and how the box will travel. With more than 100 box styles available, most brands narrow the choice by asking two questions: will this box ship on its own, and will it sit on a retail shelf?
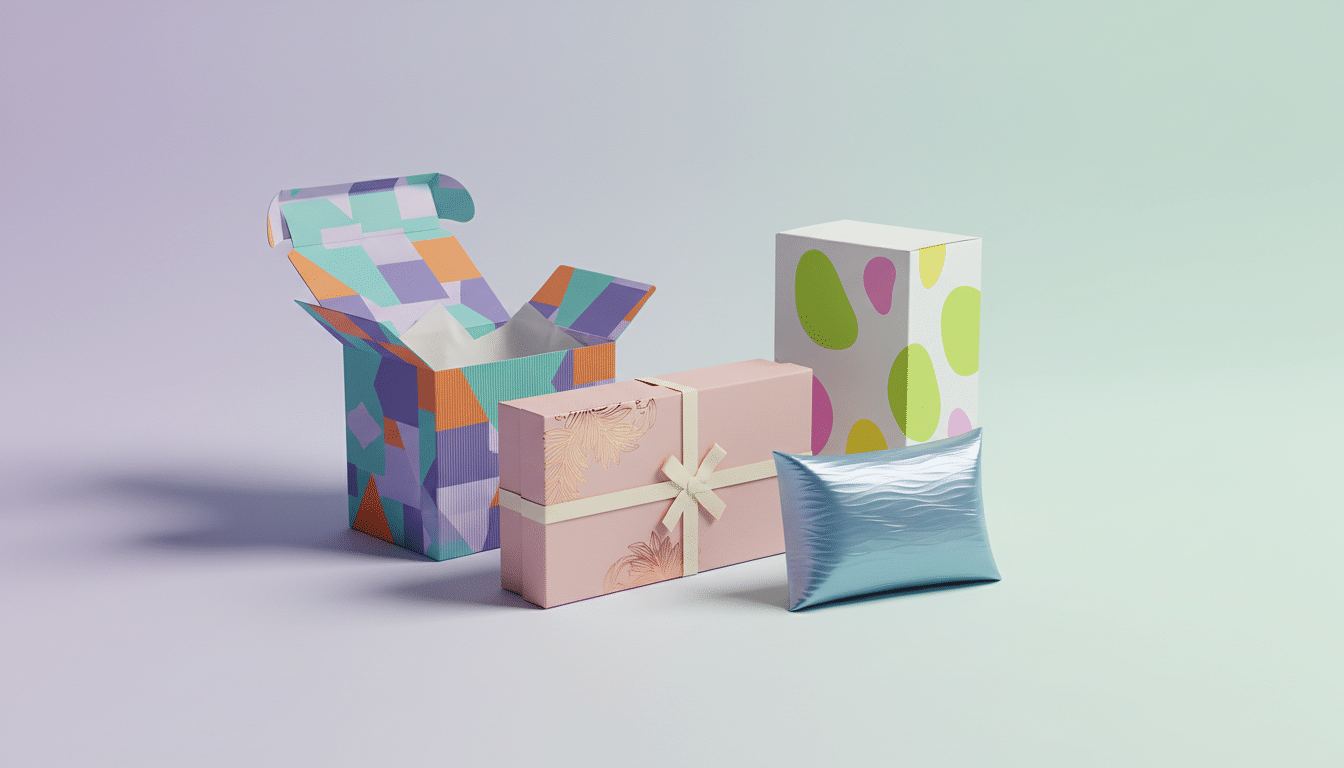
| Box style | Best for | Design strengths | Starting price |
|---|---|---|---|
| Mailer boxes | E-commerce, subscription and PR kits | Large lid and inside printing for a branded reveal | $0.90 |
| Product boxes (tuck end) | Retail shelves, single items | Four printable sides, room for bilingual panels | $0.80 |
| Cosmetic boxes | Skincare, makeup, fragrance | Slim formats with foil and spot UV accents | $0.30 |
| Kraft boxes | Natural, eco-forward brands | Earthy look; bold one- or two-color designs stand out | $0.50 |
| Rigid boxes | Luxury gifts, premium sets | Thick board, wrapped paper, magnetic closures | $3.00 |
| Pillow boxes | Small gifts, accessories, favors | Distinctive curved shape with a small footprint | $0.60 |
For shipping across Canada, custom mailer boxes are usually the strongest all-rounder because the corrugated board protects the product and doubles as the brand experience. For retail, custom product boxes give you the four panels you need for English, French and regulatory text. Premium gift sets often move up to rigid boxes, which can then be shipped inside a plain or printed mailer.
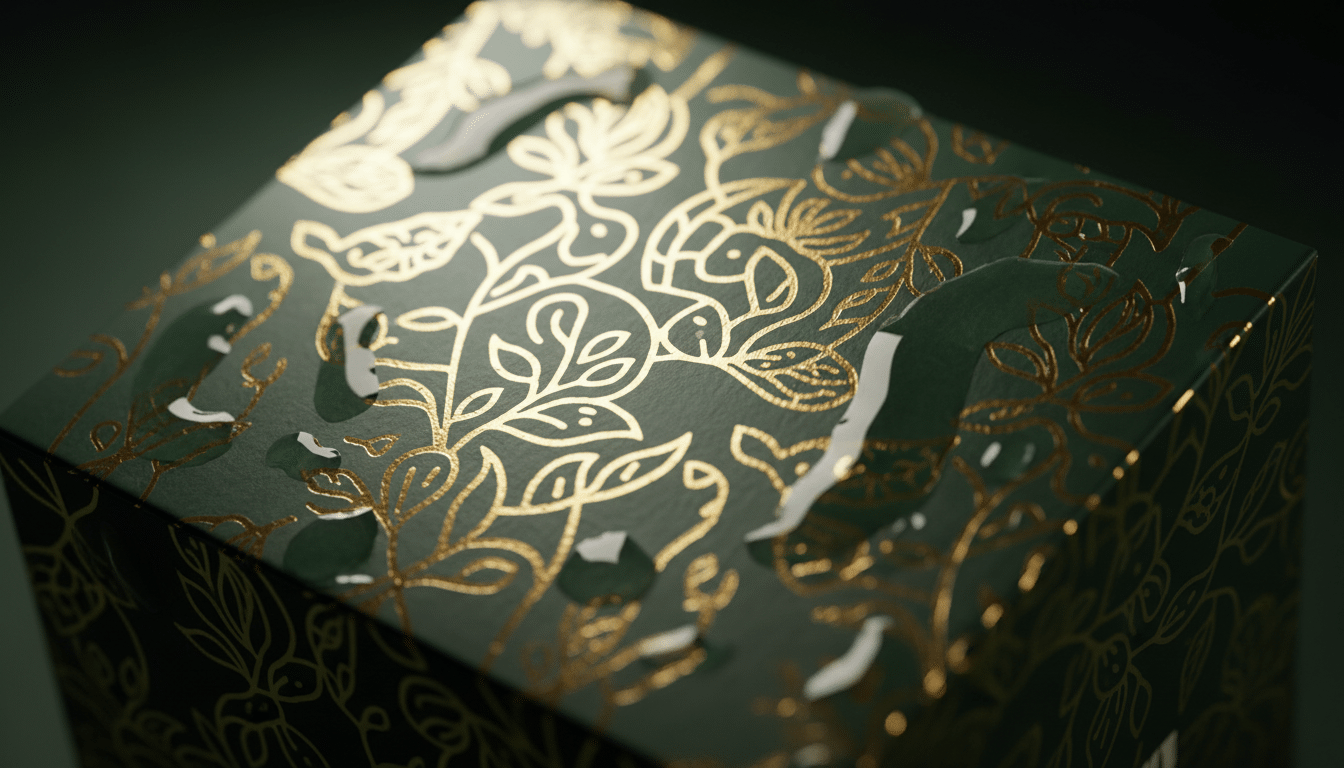
Canadian parcels can spend days in trucks, depots and on doorsteps in sub-zero weather, then move into warm, humid homes. Paperboard and corrugated board handle cold well, but repeated condensation can soften board and scuff uncoated print. That makes material and coating choices more than an aesthetic decision.
| Finish | Look and feel | Practical benefit | Consider for |
|---|---|---|---|
| Matte lamination | Soft, modern, low glare | Good scuff protection in transit | Skincare, wellness, minimalist brands |
| Gloss lamination | Shiny, vivid colors | Resists moisture and fingerprints well | Food, toys, bright retail packaging |
| Soft-touch coating | Velvety, premium | Luxurious feel; can show scuffs on rough routes | Rigid and cosmetic boxes shipped in an outer mailer |
| Foil stamping | Metallic gold, silver, rose gold | High impact on small areas | Logos, product names, gift editions |
| Embossing or debossing | Raised or pressed texture | Tactile branding without extra ink | Premium cartons and rigid lids |
| Spot UV | Glossy highlights on matte | Draws the eye to one element | Logos, patterns, hero imagery |
A useful rule: if the printed box travels on its own through winter carrier networks, choose a lamination that protects the print. If it travels inside an outer shipper, you can be more adventurous with delicate finishes.
Use a slim tuck end carton with matte lamination, a foil logo and a dedicated back panel for the ingredient list and bilingual directions. Many beauty brands keep the front panel minimal and let the side panels carry the detail. Our custom cosmetic boxes start from $0.30, and our cosmetic boxes in Canada guide goes deeper into beauty-specific considerations.
Glass jars need cushioning, so pair a printed candle box with a fitted insert. Print the scent name large in both languages and use color coding so customers can tell scents apart at a glance. Safety and usage text belongs on the base or back panel.
A shallow mailer box with a bold exterior and a printed inside lid creates a reveal without extra inserts. A short bilingual thank-you message inside the lid is a simple way to speak to both English- and French-speaking customers.
Choose food-safe packaging when the box touches food directly. Prepackaged food labels in Canada have detailed rules, including nutrition information formats, so leave a large, clean panel for the label and confirm current requirements with official sources before you print.
Since contents change monthly, keep the box design evergreen and put changing information on a printed card or custom label. One well-designed mailer size keeps costs predictable.
Several provinces run extended producer responsibility (EPR) programs for packaging, in which businesses that supply packaged products to residents may have reporting duties or pay fees based on the type and weight of packaging they put on the market. Thresholds, exemptions and fees vary by province and change over time, so check the program that applies where you sell. Whatever the details, a few design choices generally make packaging simpler to recycle and easier to report:
Custom kraft boxes are a natural fit here: they are made from paper-based kraft stock, look intentionally natural and print beautifully with bold, simple artwork.
Use this checklist from the first sketch to final approval. It keeps the creative work and the compliance work moving together.
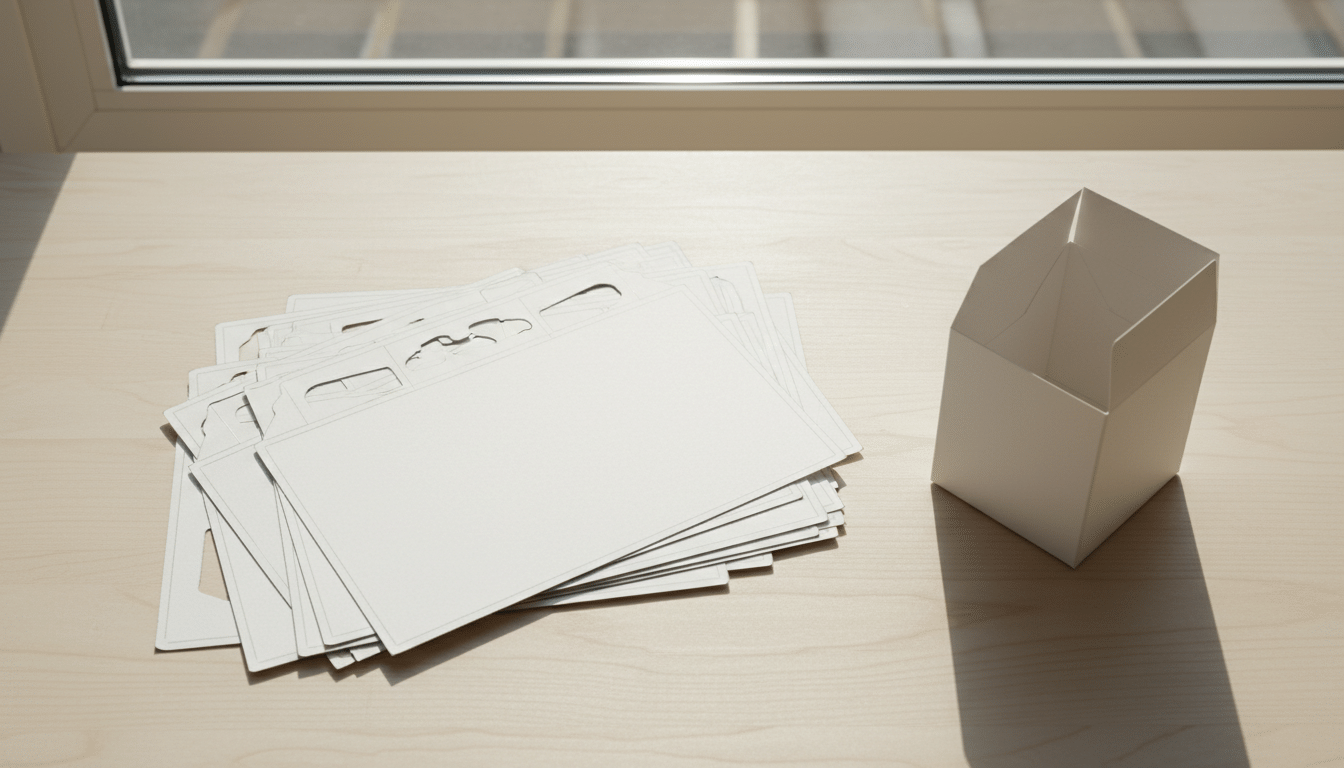
Bilingual design itself does not have to raise the price of a box; the print is the same whether a panel carries one language or two. What moves the price is the box style, size, board, finishes and quantity. These are the main levers:
| Cost factor | Effect on price | How to save |
|---|---|---|
| Quantity | Unit price drops as quantity rises because setup is shared | Order the volume you will realistically use in a few months |
| Box style | Rigid boxes cost more than folding cartons or mailers | Reserve rigid boxes for gift and premium lines |
| Size and board | Larger boxes and thicker board use more material | Right-size the box; use E-flute where strength allows |
| Print coverage and colors | Full-bleed CMYK plus Pantone spot colors adds complexity | Bold designs with fewer colors can look just as strong |
| Inside printing | Adds a second print surface | Use a simple pattern or short message inside |
| Finishes | Foil, embossing and spot UV each add a step | Pick one signature finish instead of stacking several |
| Inserts | Extra component and assembly | Use cardboard inserts rather than foam where possible |
| Turnaround | Rush production prioritizes your order | Plan around the standard 10–15 business days |
Starting prices give you a benchmark: mailer boxes from $0.90, product boxes from $0.80, kraft boxes from $0.50, cosmetic boxes from $0.30 and rigid boxes from $3 per unit, with free shipping to Canada and the USA. For a full breakdown by box type, read our custom packaging cost guide.
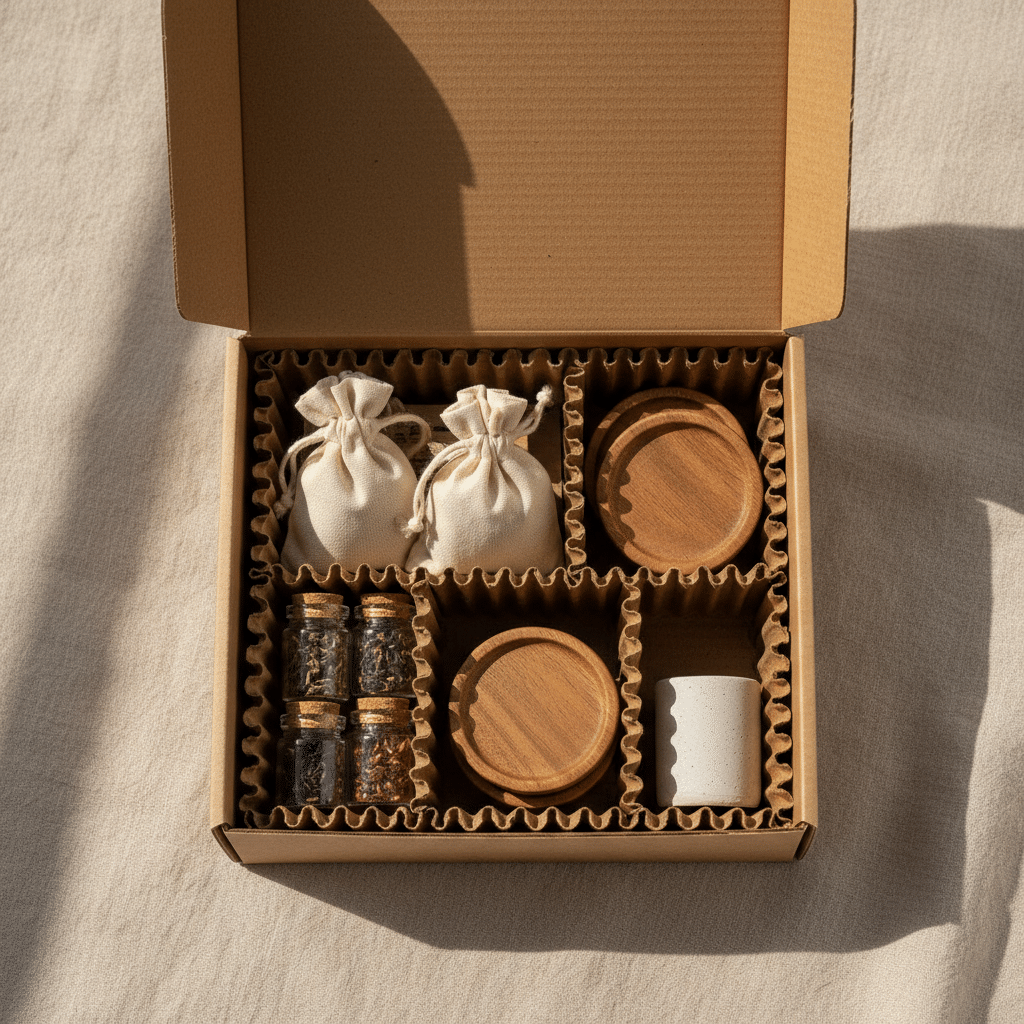
Many small brands sell on both sides of the border. With a little planning, one custom design can serve both markets, which keeps your inventory simpler and your branding consistent. We deliver custom design boxes anywhere in the United States and Canada with free shipping.
US consumer packaging rules generally require the net quantity to be shown in both US customary and metric units on many consumer goods, with product-specific rules from agencies such as the FDA for food and cosmetics. English is the standard language for labels. Carriers such as UPS, FedEx and USPS price many parcels using dimensional weight calculated in inches and pounds, so compact boxes help keep shipping costs down. Brands from New York to California also lean on inside printing and premium finishes to stand out in a crowded e-commerce market.
Most mandatory label information must appear in English and French, net quantity is shown in metric, and Health Canada or the CFIA set additional rules depending on the product category. Canadian carriers usually calculate volumetric weight in centimeters and kilograms using a carrier-specific divisor, so check your carrier’s current rate guide. Provincial recycling programs may also influence your material choices. One important exception: CBD in Canada is regulated as cannabis, with strict plain-packaging requirements, so branded custom designs are not an option for CBD products sold there.
| What matters | United States | Canada |
|---|---|---|
| Label language | English | English and French for most mandatory information |
| Net quantity units | US customary and metric on many products | Metric required; imperial may be added |
| Shipping weight calculation | Dimensional weight in inches and lb | Volumetric weight in cm and kg |
| Product regulators (general) | FDA and other federal agencies by category | Health Canada and CFIA by category |
| Recycling considerations | Varies by state; accurate recyclability claims matter | Provincial EPR programs for packaging in several provinces |
| CBD packaging | Branded boxes common; state rules vary | Regulated as cannabis; plain packaging required |
| Delivery from Custom Made Packaging | Free shipping | Free shipping |
The simplest cross-border approach is a bilingual design with dual-unit net quantity. That single box generally covers the language and unit expectations of both countries, though category-specific rules should still be checked for each market. Our custom packaging in Canada guide covers broader sourcing and shipping questions.
For most prepackaged consumer products, yes. Mandatory information such as the product identity and net quantity generally must appear in both English and French, while the dealer name and address may appear in either language. Product-specific rules can add more bilingual requirements, so check the regulations for your category.
Often you can. A bilingual English and French design with net quantity in both metric and US customary units generally meets the basic language and unit expectations of both countries. Category-specific rules, such as those for food or cosmetics, still need to be checked for each market.
Custom Made Packaging accepts orders from 30 boxes. That makes it practical to test a new design, launch a limited edition or order separate runs for different products without tying up cash in large inventory.
You receive a 2D and 3D mockup within 48 hours of ordering. After you approve the design, standard production takes 10–15 business days, or 8–12 business days with rush, and shipping to Canada is free.
Either works, as long as you use one unit consistently and provide inside dimensions in Length × Width × Depth order. Many Canadian brands measure in centimeters, while US brands usually use inches.
Not necessarily. If you have a logo and brand colors, our free design support can turn them into print-ready artwork on your dieline. For a complete brand look built from scratch, you can work with a professional packaging designer.
No. In Canada, CBD is regulated as cannabis and must follow strict plain-packaging rules, so branded designs are not permitted. Branded CBD boxes are typically used for products sold in US markets where state rules allow them.
Matte or gloss lamination is a practical choice because it protects the print from scuffs and moisture during transit. Soft-touch coatings and delicate finishes work best on boxes that travel inside an outer shipping carton.
Get the custom quote starting from our MOQ of 30 boxes to any order volume. There will be no charges for shipping and we ensure the lowest prices with highest quality possible.